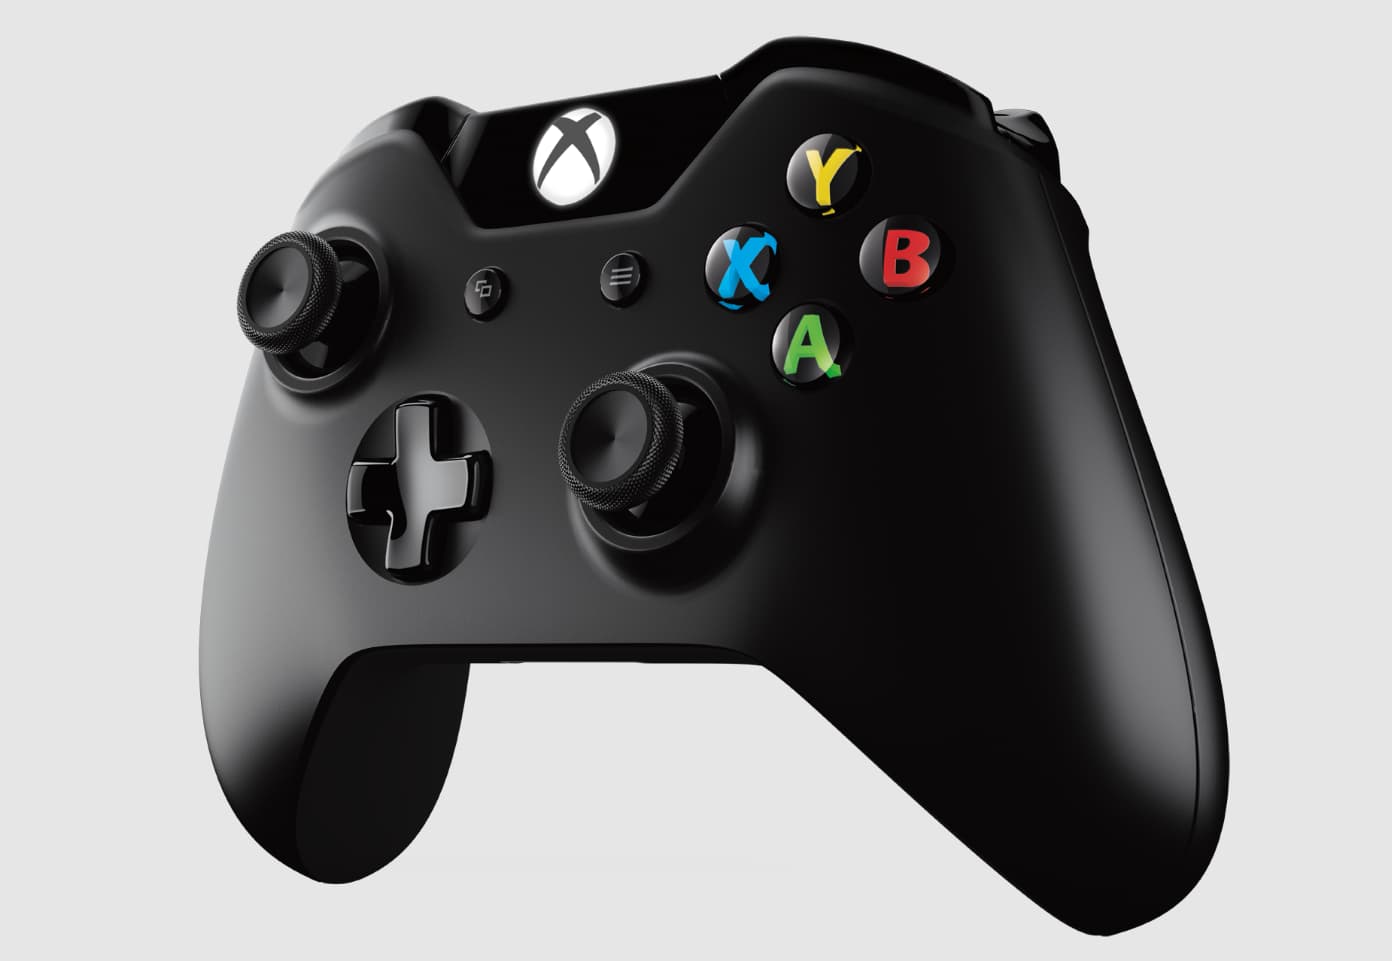
Hey there, gamers! Do you have an Xbox One controller that’s seen better days? Maybe it’s grimy, the buttons are sticking, or the thumbsticks are loose.
Well, don’t worry – with a little know-how and the right tools, you can take apart your Xbox One controller, clean it up, and get it working like new again.
How to Take Apart Your Xbox One Controller?
In this article, we’ll walk you through the whole process step-by-step. Let’s dive in!
Why You Might Need to Take Apart Your Xbox One Controller?
There are a few key reasons why you might want to crack open your Xbox One controller:
- To clean out dirt, grime, and sticky stuff that’s accumulated over time
- To fix issues like loose or drifting thumbsticks, sticky buttons, etc.
- To customize your controller with new parts, colors, LEDs, etc.
- Just to see how it works and learn more about the insides!
No matter your reason, we’ve got you covered. But first, let’s make sure you have the tools for the job.
What You’ll Need?
To take apart an Xbox One controller, you’ll need a few specific tools:
| Tool | Description |
|---|---|
| Torx screwdriver (T8 or T9) | For removing the screws holding the controller together. The exact size depends on your controller model. |
| Flathead screwdriver | Helpful for prying and separating parts. |
| Plastic prying tools | Essential for gently separating the plastic components without damage. Guitar picks work well too! |
| Plastic spudger | Another prying tool that’s useful for reaching into tight spots. A dull knife can be substituted in a pinch. |
If you don’t have all these tools handy, no worries – you can find Xbox One controller tool kits online that include everything you need. Once you’ve got your tools assembled, you’re ready to start opening up your controller.
Step-by-Step: How to Open Your Xbox One Controller
A quick tutorial on how to take apart your Xbox One – Series X|S Controller for simple fixes and cleaning.
byu/GriftyGamerGuy inxbox
Follow these steps carefully to get inside your Xbox One controller without damaging anything:
- Start by removing the battery cover and taking out any batteries. Set them aside for later.
- Using your plastic prying tool or guitar pick, gently work around the seam between the front and back covers of the controller. Little plastic clips are holding them together that you need to release. Take your time and work slowly to avoid breaking anything.
- Once you’ve released all the clips, the front and back covers should separate. If they’re being stubborn, double-check that you got all the clips and keep gently prying until they come apart.
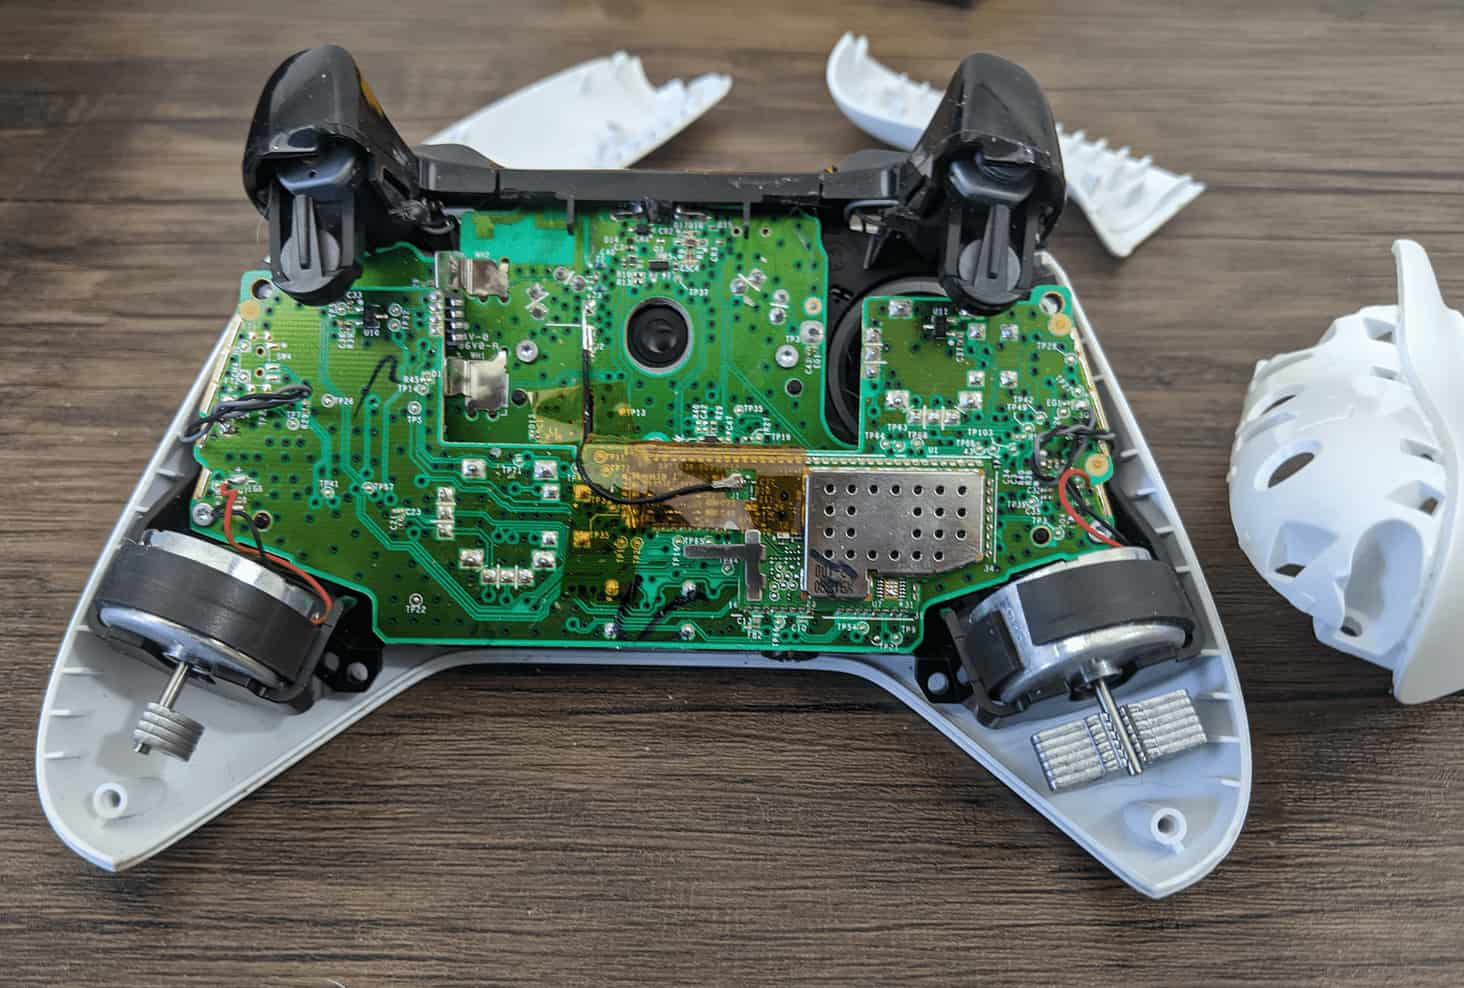
- Now look inside the back cover. You’ll see five Torx screws – two on each side and one in the battery compartment. Use your Torx screwdriver to remove all five screws and set them somewhere safe.
- With the screws out, you should be able to lift out the controller’s internal assembly, which includes the circuit board, buttons, thumbsticks, etc. Congratulations, you’re in!
What to Do Once You’re Inside?
Now that you’ve successfully disassembled your Xbox One controller, there are a few different things you might want to do:
1. Give It a Good Cleaning
Dirt, sweat, oil, and grime can build up on and inside a well-used controller. Take this opportunity to give everything a thorough cleaning:
- Use cotton swabs dipped in isopropyl alcohol to wipe down the plastic parts, getting into all the nooks and crannies. Let it dry completely before reassembling.
- Compressed air can be useful for blasting out dust and debris from hard-to-reach spots. Just be careful not to dislodge any small parts!
- If you want to sanitize your controller, use disinfectant wipes on the outside once it’s reassembled. Don’t get the insides too wet.
2. Fix Drifting or Lose Thumbsticks
One of the most common issues with Xbox One controllers is thumbsticks that become loose or “drift” over time, affecting in-game control. If you’re experiencing this, now’s your chance to fix it:
- The thumbstick modules can be removed once you have access to the controller’s insides. Inspect them for any visible damage or wear.
- A common fix is to reinforce a loose thumbstick by gluing a small piece of metal, like a thumbtack tip, inside the thumbstick base to keep it firmly seated.
- If the thumbsticks are badly worn out, you can look into replacing the whole thumbstick module. Replacements are available online.
3. Replace Buttons or Customize
With access to the controller’s guts, you can also replace any damaged buttons, triggers, D-pad, etc. This is also an opportunity to customize your controller with aftermarket parts in different colors or styles to make it uniquely yours. The internet is full of mods and options to check out!
4. Go For a Full Teardown
If you want to get into the nitty gritty, you can keep disassembling your controller past this point to access the circuit boards and other components. However, this is only recommended if you have electronics experience, as it involves de-soldering wires and detaching delicate parts. Proceed with caution and do your research to avoid damaging anything!
Putting It All Back Together
Once you’ve finished cleaning, fixing, or modding your controller, it’s time to put it all back together. This is essentially the disassembly process in reverse:
- Seat the internal assembly back into the front cover, making sure everything is lined up correctly.
- Replace the five Torx screws and tighten them snugly (but not too tight).
- Snap the front and back covers back together. You should hear the clips clicking into place.
- Put your batteries back in and replace the battery cover.
- Power on your controller and give it a test run! Everything should be working well as new.
FAQs:
- Q: Will opening my controller void the warranty?
A: Most likely, yes. Opening up your controller will usually void the manufacturer’s warranty. However, if your controller is already out of warranty or experiencing issues, you don’t have much to lose!
- Q: What if I strip one of the screws?
A: The Torx screws in Xbox One controllers are notorious for being easy to strip. To avoid this, make sure you’re using the correct size Torx screwdriver and press down firmly while unscrewing. If a screw does become stripped, you can try using a rubber band between the screwdriver and the screw to improve grip, or very carefully superglue the screwdriver to the screw to get it out. Worst case, you may need to drill out a severely stripped screw.
- Q: Can I replace my controller’s shell with a custom one?
A: Absolutely! Once you have your controller disassembled, you can replace the front and/or back covers with aftermarket custom shells. There are tons of options out there to choose from. Just be aware that you may need to do some additional trimming or modding to get everything to fit together properly with a third-party shell.
- Q: What if I can’t get my controller back together right?
A: Don’t panic! Disassembling and reassembling an Xbox One controller can be tricky the first time. If you’re having trouble, look up video tutorials online that can walk you through it step-by-step. And if all else fails, there’s no shame in taking it to a professional for help.
Also Check:
Conclusion
Well, there you have it – a complete guide to taking apart your Xbox One controller, cleaning it, fixing common issues, and modding it to your heart’s content. It might seem intimidating at first, but with the right tools and a little patience, anyone can do it. Just take your time, follow the steps carefully, and don’t be afraid to look up additional help if you need it.
Opening up your controller can breathe new life into it when it’s starting to show its age, and it’s a great way to learn more about the hardware that brings your gaming experiences to life. Plus, it’s pretty satisfying to use a controller that you’ve repaired and customized yourself!
So the next time your trusty Xbox One controller starts acting up, don’t toss it out and buy a new one just yet. Crack it open, give it some TLC, and get back to gaming at your best. You’ve got this!