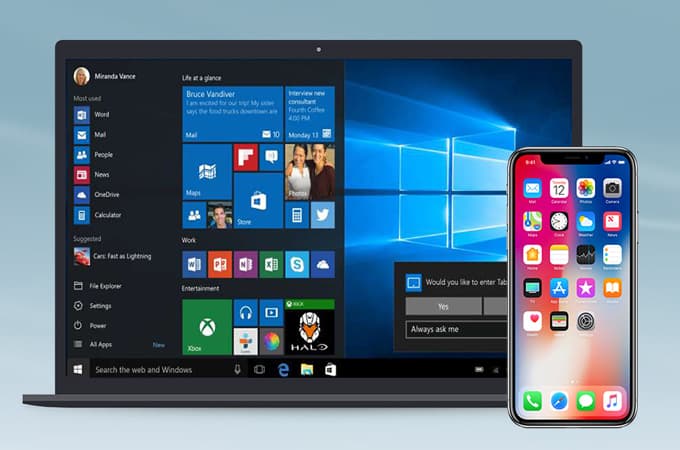
How Do I Transfer Files from iPhone to Windows 10
![]()
How Do I Transfer Files from iPhone to Windows 10
Karan Bhardwaj
Karan Bhardwaj, Founder of Geeknism worked as a Digital Marketer since 2012 and has expertise in Tech Niche. You can follow him on Facebook and Twitter.